Welding is a crucial process in various industries, providing strong and durable joins for metals and other materials. The quality and efficiency of a weld greatly depend on the welder’s skill and the welding position. Understanding the different welding positions is essential for achieving high-quality welds and
ensuring safety in welding operations. In this article, we will explore the various welding positions, their importance, and the techniques involved in each.
What Are Welding Positions?
Welding positions refer to the orientation of the workpiece and the welder’s body during the welding process. The position significantly impacts the weld’s quality and the welder’s comfort and safety. Experienced welders can master multiple welding positions, expanding their skillset and increasing their employability.
Why is it Important to Find a Good Welding Position?
Achieving a proper welding position is essential for several reasons:
- Weld Quality: A suitable welding position ensures proper weld penetration, fusion, and bead formation, leading to stronger and more durable welds.
- Welder Comfort: An ergonomic welding position reduces fatigue, strain, and the risk of injuries, allowing the welder to work more efficiently and safely.
- Sécurité: Maintaining a stable and controlled position minimizes the risk of accidents, such as falling or burning oneself.
What Are the 6 Welding Positions
What Is 1G Welding Position
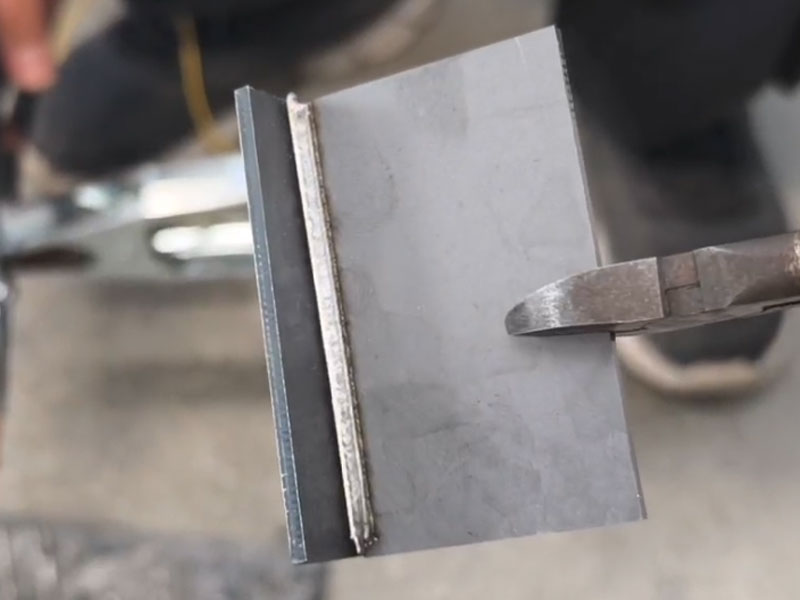
The 1G position, or flat position, involves welding on a horizontal surface. The workpiece is positioned flat, and the welder applies the weld from above. This position is the easiest and most commonly used in welding projects.
What Is 2G Position in Welding
The 2G position, or horizontal position, involves welding on a vertical surface with the weld progressing horizontally. This position requires the welder to maintain a steady hand and control the molten metal to prevent sagging.
What Is 3G Position in Welding
The 3G position, or vertical position, involves welding in an upward or downward direction on a vertical surface. This position is more challenging as it requires precise control over the weld pool and heat input.
What Is 4G Welding Position
The 4G position, or overhead position, involves welding from underneath the workpiece. This position is difficult due to gravity pulling the molten metal down, requiring the welder to use techniques to control the weld pool effectively.
What Is 5G Position in Welding
The 5G position involves welding on a horizontal pipe that remains fixed in place. The weld progresses around the circumference of the pipe, requiring the welder to change positions and techniques as they move.
What Is 6G Welding Position
The 6G position involves welding on a pipe fixed at a 45-degree angle. This position is the most challenging, as it combines aspects of the other positions and requires the welder to be proficient in all techniques.
Additional Welding Positions
What Is the 1F Welding Position
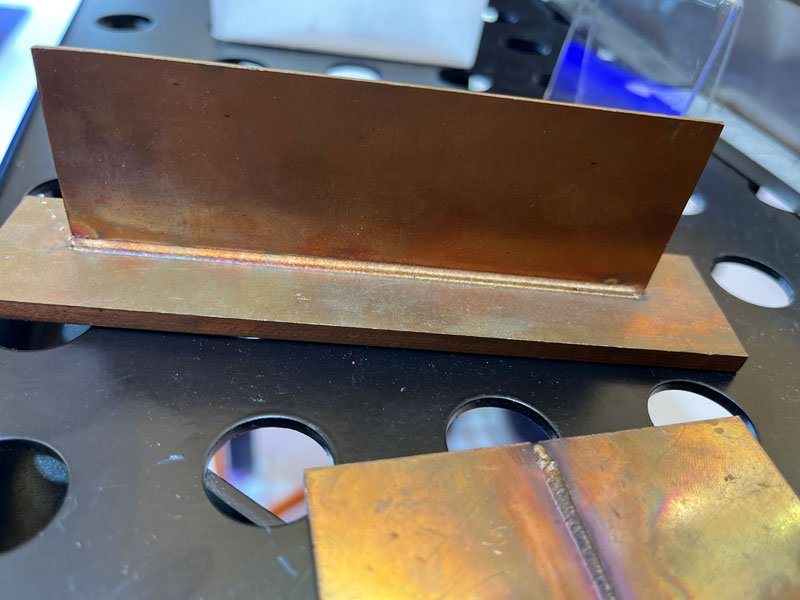
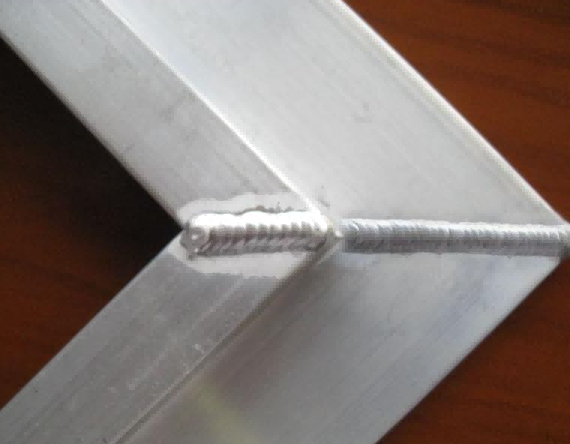
The 1F position, or flat fillet weld, involves welding a joint at a 90-degree angle on a horizontal surface. This position is used for fillet welds and requires the welder to maintain a consistent angle and travel speed.
What Is the 2F Welding Position
The 2F position, or horizontal fillet weld, involves welding a joint at a 90-degree angle on a vertical surface. The welder must control the weld pool to prevent sagging and ensure a strong joint.
What positions Can Smaw Welding Be Performed In
Shielded Metal Arc Welding (SMAW), also known as stick welding, is versatile and can be performed in various positions, making it suitable for a wide range of applications. The primary positions for SMAW welding include:
Flat Position (1G)
In the flat position, the workpiece is placed horizontally, and the welding is performed on the upper side of the joint. This position is generally the easiest and most efficient, providing good control over the molten weld pool and resulting in a strong, consistent weld.
Horizontal Position (2G)
The horizontal position involves welding along a horizontal axis on a vertical surface. Gravity affects the molten metal, making this position slightly more challenging than the flat position. It requires good control to prevent the weld from sagging or dripping.
Vertical Position (3G)
Vertical welding can be done in two ways: vertical-up or vertical-down. In the vertical-up method, the welder starts at the bottom and moves upward, which allows for deeper penetration and is suitable for thicker materials. The vertical-down method involves welding from the top down and is generally faster but requires careful control to avoid defects.
Overhead Position (4G)
Overhead welding is performed from beneath the joint. This position is challenging due to the effect of gravity pulling the molten metal downward, which can cause dripping and make it difficult to create a clean, strong weld. Proper technique and consistent hand control are crucial for success in this position.
Pipe Welding Positions (5G and 6G)
SMAW welding can also be applied to pipe welding in the 5G and 6G positions:
- 5G Position: The pipe is fixed horizontally, and the welder must move around the pipe to complete the weld. This position requires skill to manage the varying orientations encountered around the pipe’s circumference.
- 6G Position: The pipe is fixed at a 45-degree angle. This position is considered the most challenging because it combines elements of all other positions. The welder must work in multiple orientations and maintain a consistent weld bead throughout.
By mastering these positions, welders can ensure high-quality welds across various applications and materials, enhancing their versatility and effectiveness in different welding scenarios.
How to Weld Pipe in 6g Position
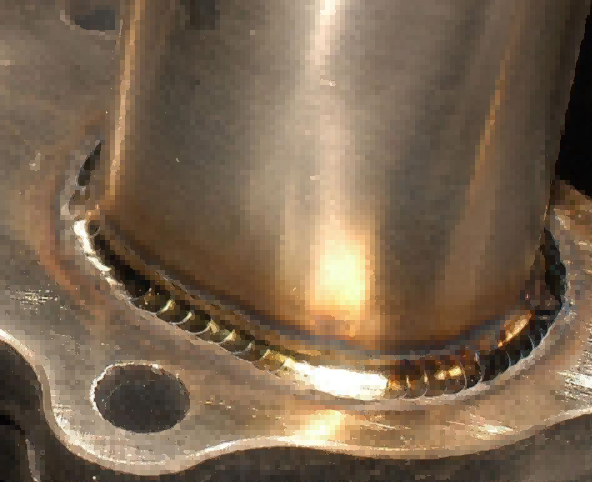
Welding in the 6G position is one of the most challenging tasks due to the fixed 45-degree angle of the pipe. This position requires a high level of skill and proficiency in various welding techniques. Here is a step-by-step guide on how to weld pipe in the 6G position:
1. Preparation
- Clean the Pipe: Ensure the pipe is clean and free from any contaminants such as oil, rust, or dirt. This helps in achieving a strong, defect-free weld.
- Fit-Up: Align the pipes properly and secure them in place using tack welds. Ensure the root gap is consistent around the entire circumference of the pipe. Use pipe clamps or jigs if necessary to maintain alignment.
- Select the Electrode: Choose an appropriate electrode for the material you are welding. For example, a 7018 electrode is commonly used for carbon steel.
2. Set Up the Welding Machine
- Adjust Settings: Set the welding machine to the correct amperage and voltage for the electrode and material thickness. SMAW typically requires DC current, with the electrode being positive (DCEP).
- Check Polarity: Ensure the welding machine is set to the correct polarity, which is usually DC+ for SMAW.
3. Position Yourself
- Comfortable Stance: Position yourself comfortably, as you will need to maintain stability and control throughout the weld. Use a stool or kneeling pad if necessary.
- Work in Sections: Divide the pipe into manageable sections. Start welding at the bottom of the pipe and work your way up in segments.
4. Welding the Root Pass
- Start the Arc: Strike the arc at the bottom of the pipe (6 o’clock position). Hold the electrode at a slight angle to the pipe, typically around 10-15 degrees.
- Penetration: Ensure proper penetration by maintaining a short arc length and consistent travel speed. The root pass is crucial for the integrity of the weld.
- Weave Technique: Use a slight weaving motion to fill the root gap and achieve full penetration. Be consistent in your movements to avoid defects.
5. Welding the Fill Passes
- Fill Passes: After completing the root pass, proceed with the fill passes. These passes fill the joint and build up the weld. Maintain a consistent travel speed and electrode angle.
- Avoid Overheating: Be cautious of overheating the weld area, which can cause warping or defects. Allow the weld to cool slightly between passes if necessary.
6. Welding the Cap Pass
- Final Layer: The cap pass is the final layer of the weld. It should be smooth and slightly convex. Use a weaving or stringer bead technique, depending on the pipe diameter and thickness.
- Consistency: Maintain a consistent bead profile and overlap each previous pass slightly to ensure a uniform cap.
7. Inspect the Weld
- Visual Inspection: Inspect the weld visually for any defects such as cracks, porosity, or undercut. The weld should be smooth and consistent around the entire circumference of the pipe.
- Non-Destructive Testing (NDT): Depending on the application, additional testing such as X-ray or ultrasonic testing may be required to ensure the weld’s integrity.
Tips for Success
- Practice: The 6G position is challenging and requires significant practice to master. Spend time practicing on scrap materials before attempting critical welds.
- Proper Ventilation: Ensure proper ventilation in the welding area to avoid inhaling fumes.
- Safety Gear: Wear appropriate safety gear, including a welding helmet, gloves, and protective clothing.
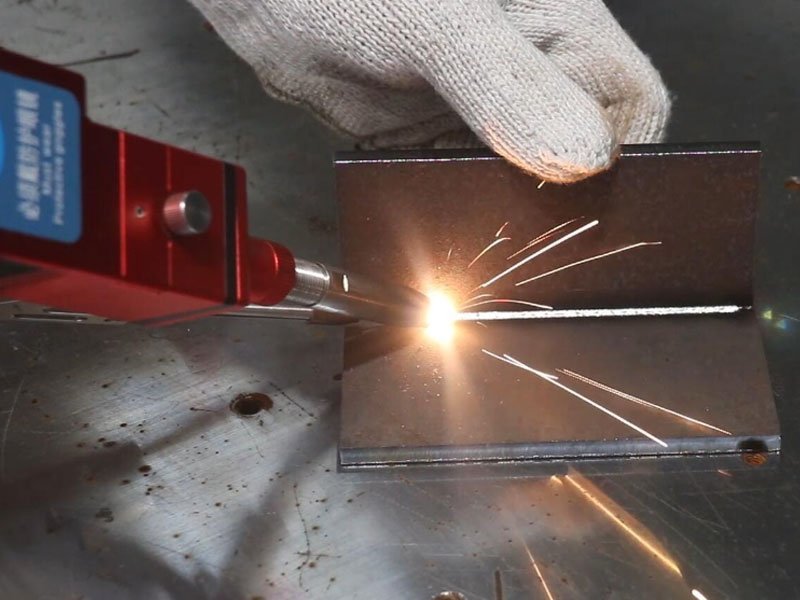
How to Weld in Different Positions
How to Weld Horizontal Position
- Maintain a stable body position: Stand or sit comfortably with your body aligned with the weld joint.
- Utilisez une vitesse de déplacement constante : Move the welding torch steadily along the joint at a speed that allows for proper weld penetration.
- Angle the electrode correctly: Hold the electrode at an angle that ensures proper bead shape and penetration.
How to Weld Overhead Position
- Use a tight arc length: Maintain a shorter arc length to minimize the molten metal dripping.
- Weave the electrode slightly: Use a slight side-to-side weaving motion to create a wider and more consistent weld bead.
- Weld uphill if possible: If the weld allows, consider welding uphill for better control and penetration.
How to Weld Vertical Position
- Choose the right technique: Uphill welding is preferred for better penetration. Downhill welding can be faster but requires stricter technique to avoid undercut.
- Use a whipping motion: A short, back-and-forth whipping motion of the electrode helps puddle control and prevents slag buildup.
- Stringer beads for uphill: Maintain a straight travel path with minimal weaving for uphill welds.
- Weaving for downhill: Use a tight weaving motion for downhill welds to prevent excessive buildup.
Conclusion
Understanding and mastering the different welding positions is crucial for achieving high-quality welds and ensuring safety in welding operations. Each position requires specific techniques and skills, and being proficient in all positions allows welders to handle a wide range of projects. Whether you are a beginner or an experienced welder, continually practicing and improving your skills in various positions will lead to better results and greater job satisfaction.

FAQ
A groove weld in the overhead position is:
A challenging weld due to the downward force of gravity on the molten metal. It requires proper technique to ensure proper weld penetration and prevent sagging.
Is the ground on a welding machine positive or negative:
The ground clamp is typically connected to the negative terminal of the welding machine. However, consult your specific welding machine’s manual for the recommended polarity.
Are plates usually grooved in the flat position TIG welding:
Oui, plates are usually grooved in the flat position during TIG welding to provide a clean and precise weld. The flat position allows for better control and visibility.
Grooves can be made in various positions for TIG welding, including flat. The position choice depends on factors like weld accessibility, joint type, and welder comfort.
How to position your hand when MIG welding:
The hand position for MIG welding depends on the welding position itself. Generally, maintain a comfortable wrist angle and keep your torch at a slight dragging angle for optimal control and visibility.
